Leadership just sucked.
Leadership rocks!
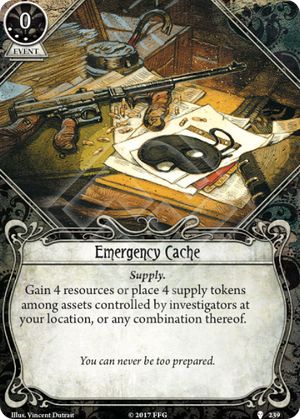
The card gives 1 icon and a substantial resource generation ability. Up to 4 resources generated for no action investment at all is great. In case you forgot, is as resource hungry as ever.
With the icon you're boosting an ally by + or yourself by +, you stand a perfectly reasonable chance at scoring the resources just by dropping this on any old fight check. If there was a 2xp skill card that read "+1, gain 2 resources" I would play it! This is that card, and then some!
Great card.
Which extra "?" icon ?
—
AlexP
· 316
Rephrased it :p
—
Tsuruki23
· 2628
You can also find it with Practice Makes Perfect to play it twice.
—
Zinjanthropus
· 235
Amanda can use this for $6 from 3 easy tests.
—
MrGoldbee
· 1573